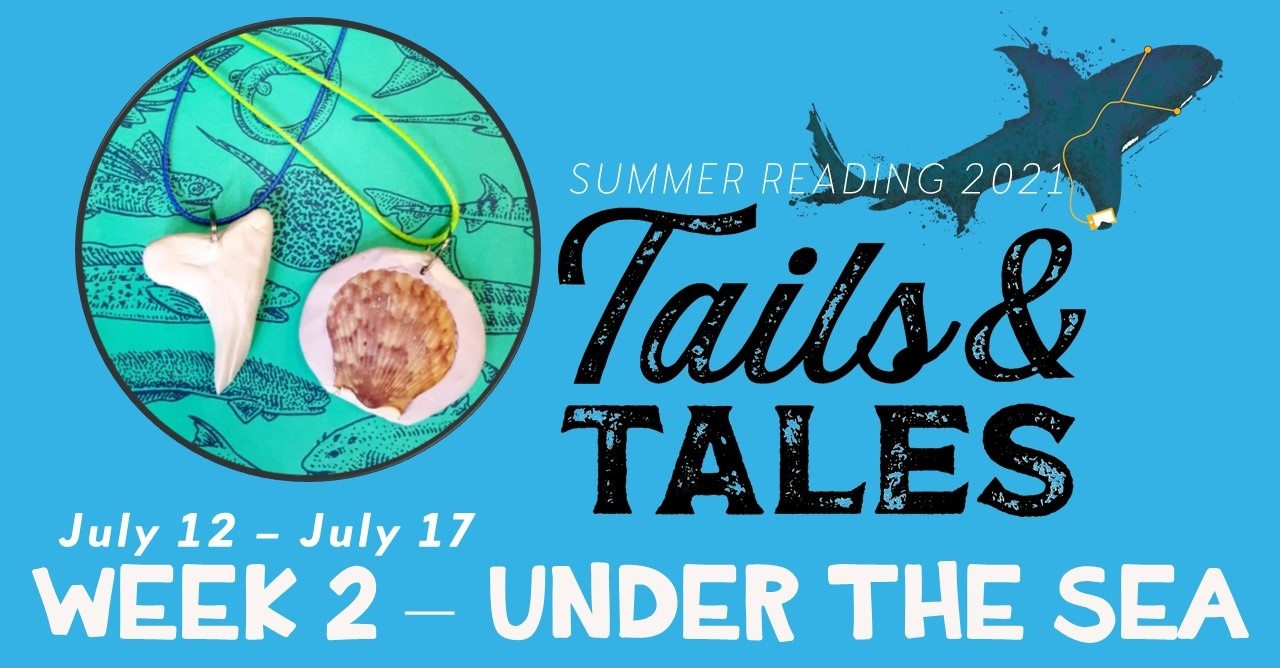
This week we’re celebrating Shark Week by making our own shark tooth necklaces out of air-dry clay! Not a fan of sharks? Make your own seashell necklace instead! (Or both!) Stop by the library to pick up your kit–please note all of our weekly kits will be on a “first come, first served” basis. However, if any are still leftover after the week is done, they will be available to take.
In Your Kit:
- Air-dry clay
- 1 necklace
- 2 split rings
- 1 seashell
- 1 shark tooth shape guide
Optional:
- Food coloring or paint to add color to clay
- Watered-down PVC glue (white glue), ModPodge, or other sealant to preserve dried clay
Shark Tooth Directions:
- Take your clay and use the shape guide to shape it into whichever tooth you’d like (or make up your own!)
- While the clay is still soft, attach a jump ring to the top and make sure the clay securely covers it.
Seashell Directions:
- Optional: add coloring to clay and knead well (start with a little, keep adding more until you get the color you like—because the clay is white it may stay a pastel tone)
- Knead clay into a ball
- Flatten clay between palms
- Stick shell onto clay and GENTLY pat the back so the clay fills in the gap of the shell
- Attach the jump ring to the top of your shell pendant and fill in the clay to secure it
- For each project, let clay dry for 48 to72 hours (2 to 3 days)
- Clay may be painted with acrylic paint AFTER drying
- Water down white glue or use a sealant and LIGHTLY coat pendant to seal it. Let dry and coat a 2nd time if desired.